Installing a New Graphics Card Fan Guide
Share
How to Replace a Graphics Card (GPU) Fan: A Step-by-Step Guide
Are you experiencing overheating or loud noises from your graphics card? It might be time to replace your GPU fan. This guide will walk you through the process of replacing your graphics card fan, ensuring your PC runs smoothly and quietly again. Whether you're a novice or have some experience, this step-by-step tutorial is designed to be easy to follow. Remember, this is a generic guide and your graphics card may have specific requirements. Youtube is a good resource for graphics card specific teardowns that can often be referred to.
What You'll Need
Before you start, gather the necessary tools and materials:
- Replacement GPU fan
- Screwdrivers (typically Phillips and flathead)
- Thermal paste (optional, if you're also replacing the heatsink)
- Antistatic wrist strap (optional but recommended)
- Cleaning supplies (e.g., isopropyl alcohol and a microfiber cloth)
- A clean, well-lit workspace
Step 1: Prepare Your Workspace
- Power Down and Unplug: Shut down your computer and unplug all cables. Press the power button for a few seconds to discharge any residual power.
- Open the Case: Remove the side panel of your PC case. This usually involves unscrewing a few screws at the back of the case.
- Ground Yourself: Wear an antistatic wrist strap or regularly touch a metal part of the case to prevent static damage.
Step 2: Remove the Graphics Card
- Locate the GPU: Find the graphics card in your computer. It's typically located in a PCIe slot on the motherboard.
- Disconnect Power Cables: Carefully unplug any power connectors attached to the GPU.
- Unscrew the GPU: Remove the screws holding the GPU in place. These are usually at the back of the case.
- Release the PCIe Latch: Some motherboards have a latch that secures the GPU. Release this latch and gently pull the GPU out of the slot.
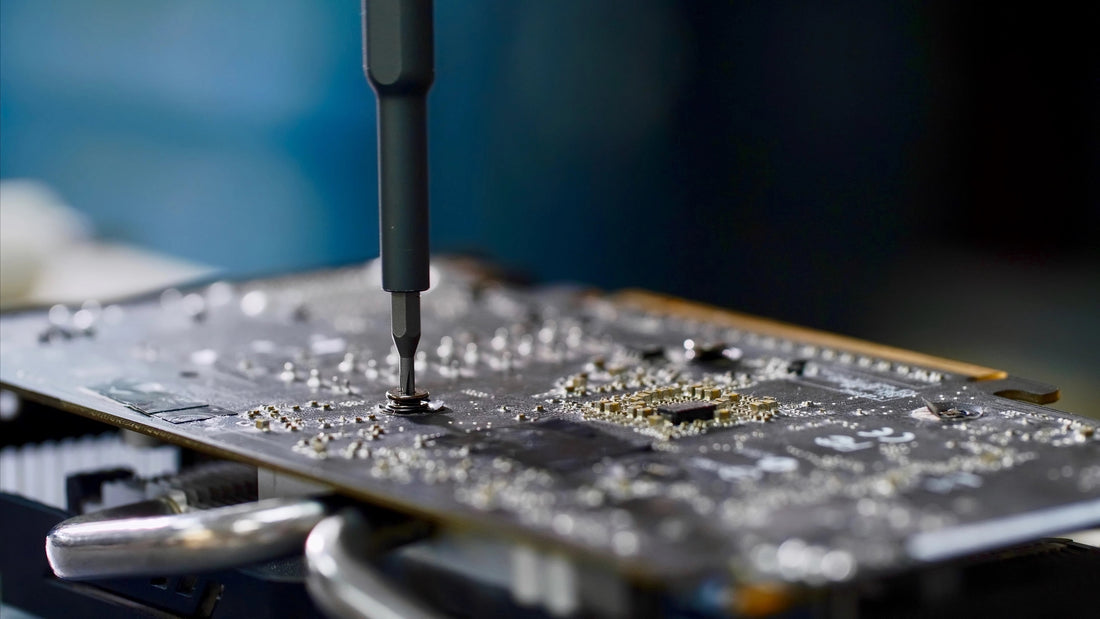
Step 3: Remove the Old Fan
- Identify the Screws: Look for screws holding the fan and heatsink assembly to the GPU. There may also be clips or other fasteners.
- Unscrew and Remove: Carefully unscrew and remove the fan. Note the placement of any screws or clips so you can reassemble them later.
- Clean the Heatsink (Optional): If you're also cleaning the heatsink, remove any old thermal paste using isopropyl alcohol (or TIM clean) and a microfiber cloth. Apply new thermal paste if necessary.
Step 4: Install the New Fan
- Position the New Fan: Align the new fan with the heatsink and screw holes.
- Secure the Fan: Attach the new fan using the screws or clips you removed earlier. Make sure it's firmly in place.
- Connect the Fan Cable: Plug the new fan into the GPU's fan header(s).
Step 5: Reinstall the Graphics Card
- Reinsert the GPU: Carefully slide the graphics card back into the PCIe slot. Ensure it's seated properly and the latch clicks into place.
- Secure the GPU: Screw the GPU back into the case.
- Reconnect Power Cables: Plug any necessary power connectors back into the GPU.
Step 6: Test Your New Fan
- Close the Case: Replace the side panel of your PC case and screw it back in place.
- Reconnect and Power Up: Plug in all cables and turn on your computer.
- Monitor Performance: Ensure the new fan is spinning and listen for any unusual noises. Use software like MSI Afterburner to monitor GPU temperatures and fan speeds.
Summary
Replacing a graphics card fan can extend the life of your GPU and keep your system running quietly and efficiently. By following this guide, you'll be able to replace your GPU fan with confidence. For high-quality replacement GPU fans and other PC accessories, visit our store and refer to our buyers guide.
FAQs
Q: Do I need to replace the thermal paste when changing the fan?
A: It's not always necessary, but it's a good practice if you have removed the heatsink.
Q: Can I use any fan for my GPU?
A: No, ensure you get a compatible replacement fan. Check your GPU model and specifications, and refer to our buyers guide.
Q: How often should I replace my GPU fan?
A: Replace it if you notice overheating, unusual noises, or if the fan stops working entirely.
By following these steps, you can successfully replace your GPU fan and keep your computer running smoothly. Happy repairing!